
Over the summer, when I was eager to start blogging but hadn't left the country yet, I put together a bunch of DIY posts that promptly got lost in my drafts. To fill the void between now and my month-long trip around Europe (oh right, that's happening), I'll be posting some of these blogs to avoid the radio silence that's becoming all too common on this blog (because all I've done of note recently is clean my room and start watching Bob's Burgers). Enjoy!

WHAT YOU'LL NEED:

- sewing machine & thread
- 12 yards of 44" fabric
- snap kit
- scissors, pins, a duvet, etc.
It's almost impossible to find fabric that is already the width that you need for a twin bed, which means before you can officially make the duvet cover, you have to make two panels of fabric that are the right size. In this case, that's two panels of 73" x 97.5".


- Lay your fabric for the first panel out flat, fold it in half, and cut down the fold.
- You now have two panels. Sew them together lengthwise.
- Do this for your other panel.

I chose to have two different colored panels (okay, fine. I accidentally only ordered half of the fabric I needed so I ran out to a fabric store last minute). Anyways. Now lay these out on the ground.


- Measure the length and width of both panels.
- Subtract 73" from the width, divide that number in half, and take that number of inches off from both sides of the width (this makes sure that the seam stays in the middle).
- Subtract 97.5" from the length, take that number of inches off from the bottom.
- Do this for both panels. Do we see where I'm going with this? Do I have to spell it out?
Okay. Take a break for the day, because that's a lot of crafting. Especially when there is Made In Chelsea to be watching and Teddy Grahams to be eating.
ASSEMBLY:


- Place the fabric wrong side up and fold the width side down a half inch, pin, and sew. If this feels tedious as shit, that's because it is.
- Fold this side again, but this time 3.5". Iron so it stays.
- Do this for the other panel.

This part is up to you, depending on how many snaps you want. I wanted six. So divide the width by however many snaps you want, and mark an X at each increment, each X being two inches from the fold. It's really not as complicated as it sounds. It works better if you just don't read the directions and instead think logically about how you would do this. Got it now? Cool. (I'm hoping you said yes).
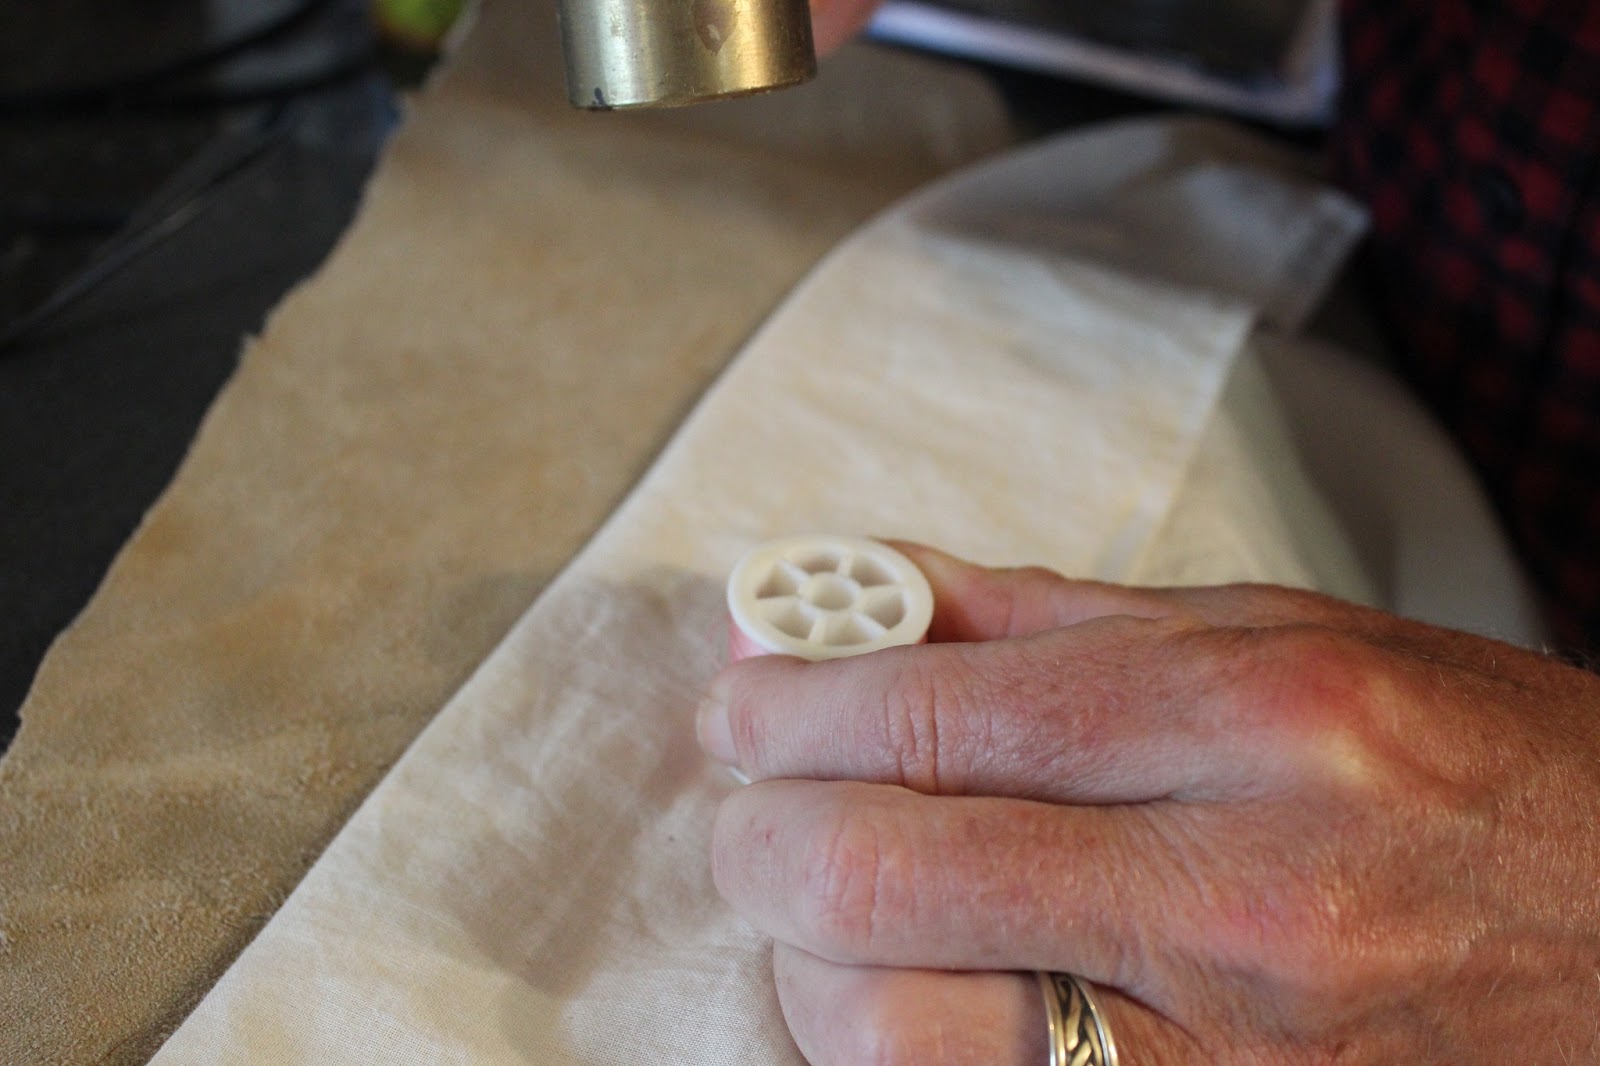
Find someone who is more suited to using a hammer than you are, and have them hammer the snaps in place.
All together now: do this for the other panel.


Wahoo! The final stretch! Pin the panels right sides together, leaving it open where you put the snaps. Sew all around and then turn inside out. Now you just have to put your duvet inside.
Let a pro show you how it's done:

And you're done! Two enthusiastic paws up.

TL;DR
Fine. If my directions were too verbose for you, here are my mom's.

No comments:
Post a Comment